Find your perfect movie with ClickHouse®, vector search, Hugging Face API, and Next.js
Get an introduction to machine learning using Aiven services and the Hugging Face API to recommend movies based on Wikipedia synopses.
Get an introduction to machine learning using Aiven services and the Hugging Face API to recommend movies based on Wikipedia synopses.
Vector search is an incredibly useful technique when you need to rely on the meaning and context of unstructured text to find something specific, for example, when building recommendation systems. In this article we'll build a recommendation engine to find a movie to watch. We'll build a project that uses vector search to find the perfect movie based on user input.
We'll use ClickHouse®, a fast open-source column-oriented database, which already supports built-in vector comparison capabilities. To visualize our results, we'll rely on Next.js and to we'll get vector embeddings using some free tools and a HuggingFace model.
By the end, you'll not only understand how to use vector search with ClickHouse but also how to seamlessly integrate it all within the Next.js framework.
Before we dive in, a moderate understanding of JavaScript, along with a familiarity with Node.js and npm, will come in handy. There will be no need to run the model locally; I'll share all the necessary data with you. Wowever, if you wish to do so, you'll find some useful Python scripts to have fun and get your hands dirty.
If you're impatient and want to see the end result, you can find the complete code in this GitHub repository.
First things first – we need a dataset. One excellent option is the movie dataset available on Kaggle. You can download it directly from Kaggle. This dataset provides an assortment of movies together with their plots, creation years, and other details that we can use for our recommendation engine. In particular, the field plot contains all the details what the movie is about and we can use it when creating vector embeddings for each of the movies.
For vector search to work its magic, we'll naturally need some vectors! We actually need two sets of vector embeddings. First, each movie plot within our collection needs a corresponding embedding. Our movie dataset has almost 35000 items and we need to process each of them individually.
Secondly, the search phrase entered by a user should also be converted into an embedding to allow us to do the comparison with each of existing movie plots and find what results scores the best.
While ClickHouse is excellent at comparing vectors, generating these vectors happens outside of the database and requires a sentence transformer that already uses a trained model.
There are various approaches for obtaining these embeddings. One option is to use a free API provided by Hugging Face. For small amounts of data, this API is perfect. However, for more substantial datasets (and ours isn't very small), it might be not the most efficient solution. My experience showed that Hugging Face API has a tendency to randomly return errors, and the rate limit for the Inference API is sadly not public. To avoid frustration we'll use the API only to generate embeddings for the search phrase.
For the dataset itself running the model locally makes it significantly faster to append vector embedding to each of the movies. The technical details of embedding creation are beyond the scope of this guide, but you can find the script I used (and plenty of comments there) in extra
/embeddings-generator.py . However, I'd recommend you just download the JSON file containing complete dataset including vector embeddings. The sentence transformer that I used is called all-mpnet-base-v2, and it mapped each of the movie plots to a 768-dimensional dense vector space.
Now that we have dataset with the embeddings, we're ready to load the data into the database.
I opted to use Aiven for ClickHouse® which comes with a free trial, you can register Aiven account here. For this experiment the smallest plan will be sufficient.
Once your ClickHouse server is up and running, we'll use the ClickHouse Client for database operations. Docker containers make it easier especially if you're using anything but Linux. You will need to pull ClickHouse Server Docker Image it includes the client that we'll need to run SQL commands (more detailed instructions can be found in our documentation.
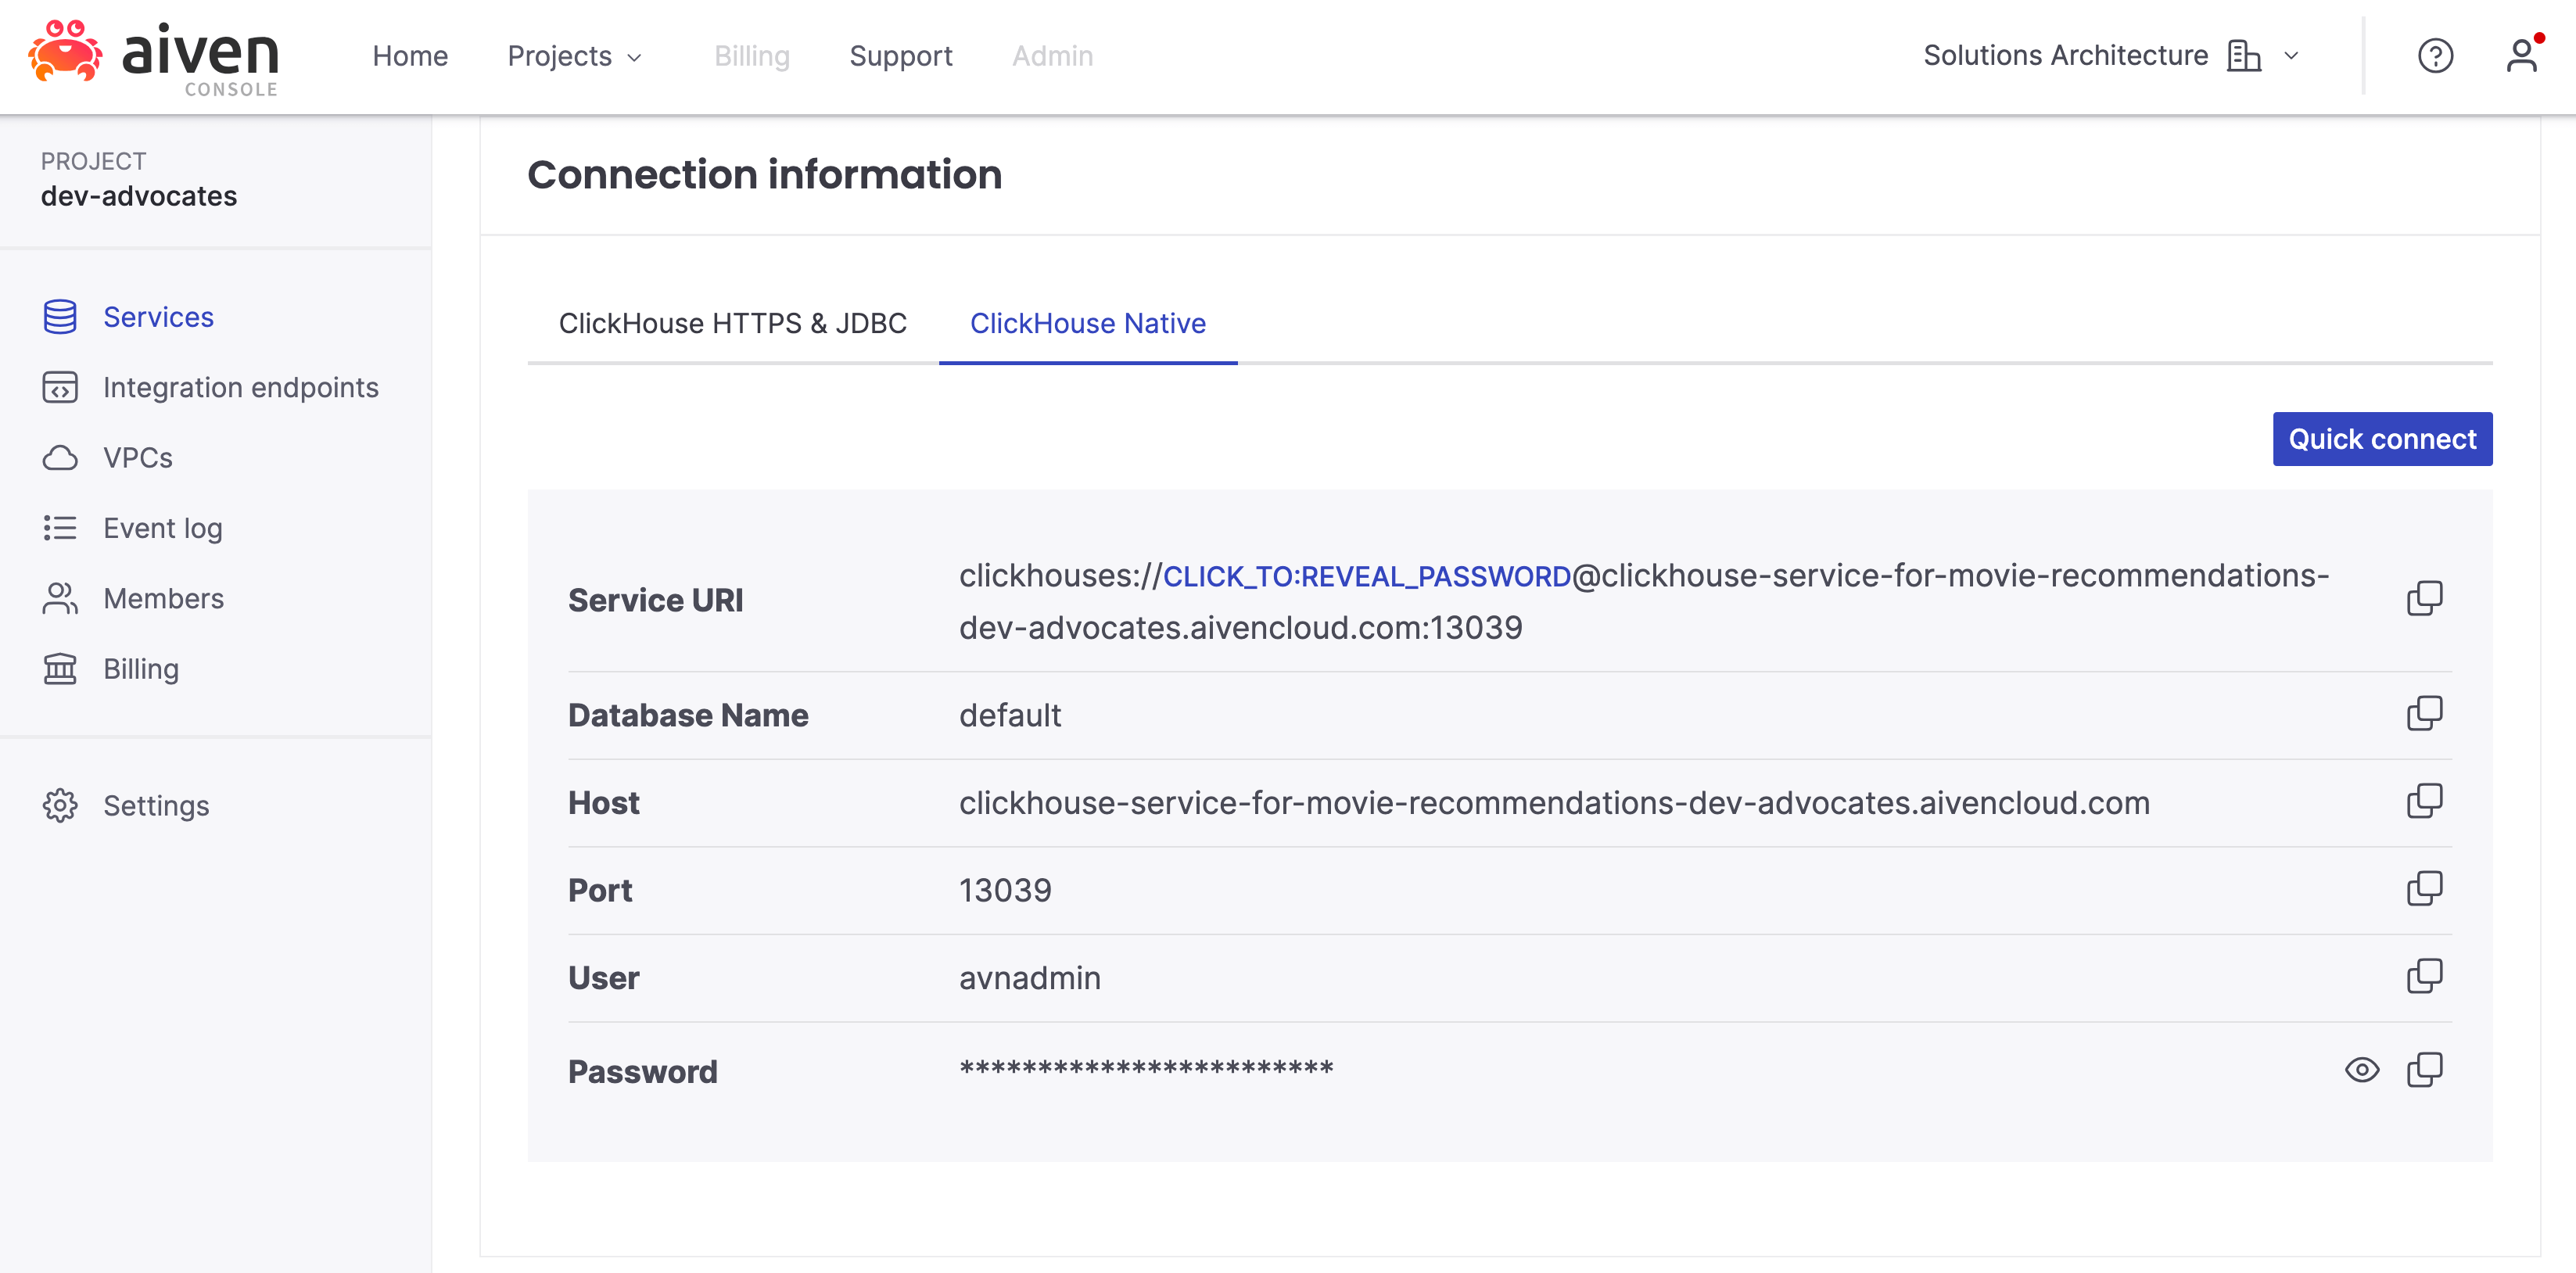
Connection details to your ClickHouse server can be found on the server's page, in particular we're interested in the tab ClickHouse Native:
To connect to the ClickHouse client, replace the placeholders with the information from your ClickHouse server in the command below and run it:
Loading code...
This will bring you inside the client. Now you can create a table for the movies:
Loading code...
To load data from your local file into the ClickHouse server, open a separate tab (so you step away from the client for this), navigate to the folder where the dataset is located and run:
Loading code...
Data loading will take a moment, and once completed, you can test by running a select query from the client:
Loading code...
This should show you 34886, the number of movie plots we have in the dataset.
In this and next sections we'll dissect the process of retrieving an embedding and making a ClickHouse request to find the distance from the search phrase to the nearest similarity. For this we'll do some manual work to request, copy and use an embedding with ClickHouse. If you want, you can choose to skip to the section 6, to proceed directly creating the proper interface with Next.js (and avoid copy-pasting an array consisting of 768 float values!)
When searching for movies, a user of our app inputs a search phrase like "a girl who wanted to be a magician". To compare this phrase with movie plots and find the best match, the search phrase too must be converted into a vector. For this we'll use Hugging Face API and a piece of NodeJS code.
While Hugging Face API is free, you'll still need an authentication token. Sign up at Hugging Face and create your token in the settings - access tokens.
And now you can use it in the code. The basic Node.JS code we'll look like this:
Loading code...
Assuming you save this code in a file named embeddings.js, you can test it by running the following in a terminal:
Loading code...
This makes a request to HuggingFace API and return a set of vectors representing the text phrase.
This obviously not the way we run things in production, but for now we just want to get an example of the vector embedding, so that we can run a simple test with ClickHouse. To prevent Node.js from shortening the response, you can apply JSON.stringify and then copy the complete array. We'll need this for the next step!
Loading code...
Now comes the exciting part – utilizing these vectors to find the most relevant movie plots to a given search phrase. ClickHouse has a variety of functions to calculate distances, the most useful for us is L2Distance, a function that calculates the distance between two points in Euclidean space. What we need to do is to go through all the movie plots and compare how far each of them is from our search phrase. ClickHouse will calculate the distance and sort the movies by the distance and return top results with the minimal value for the distance.
Loading code...
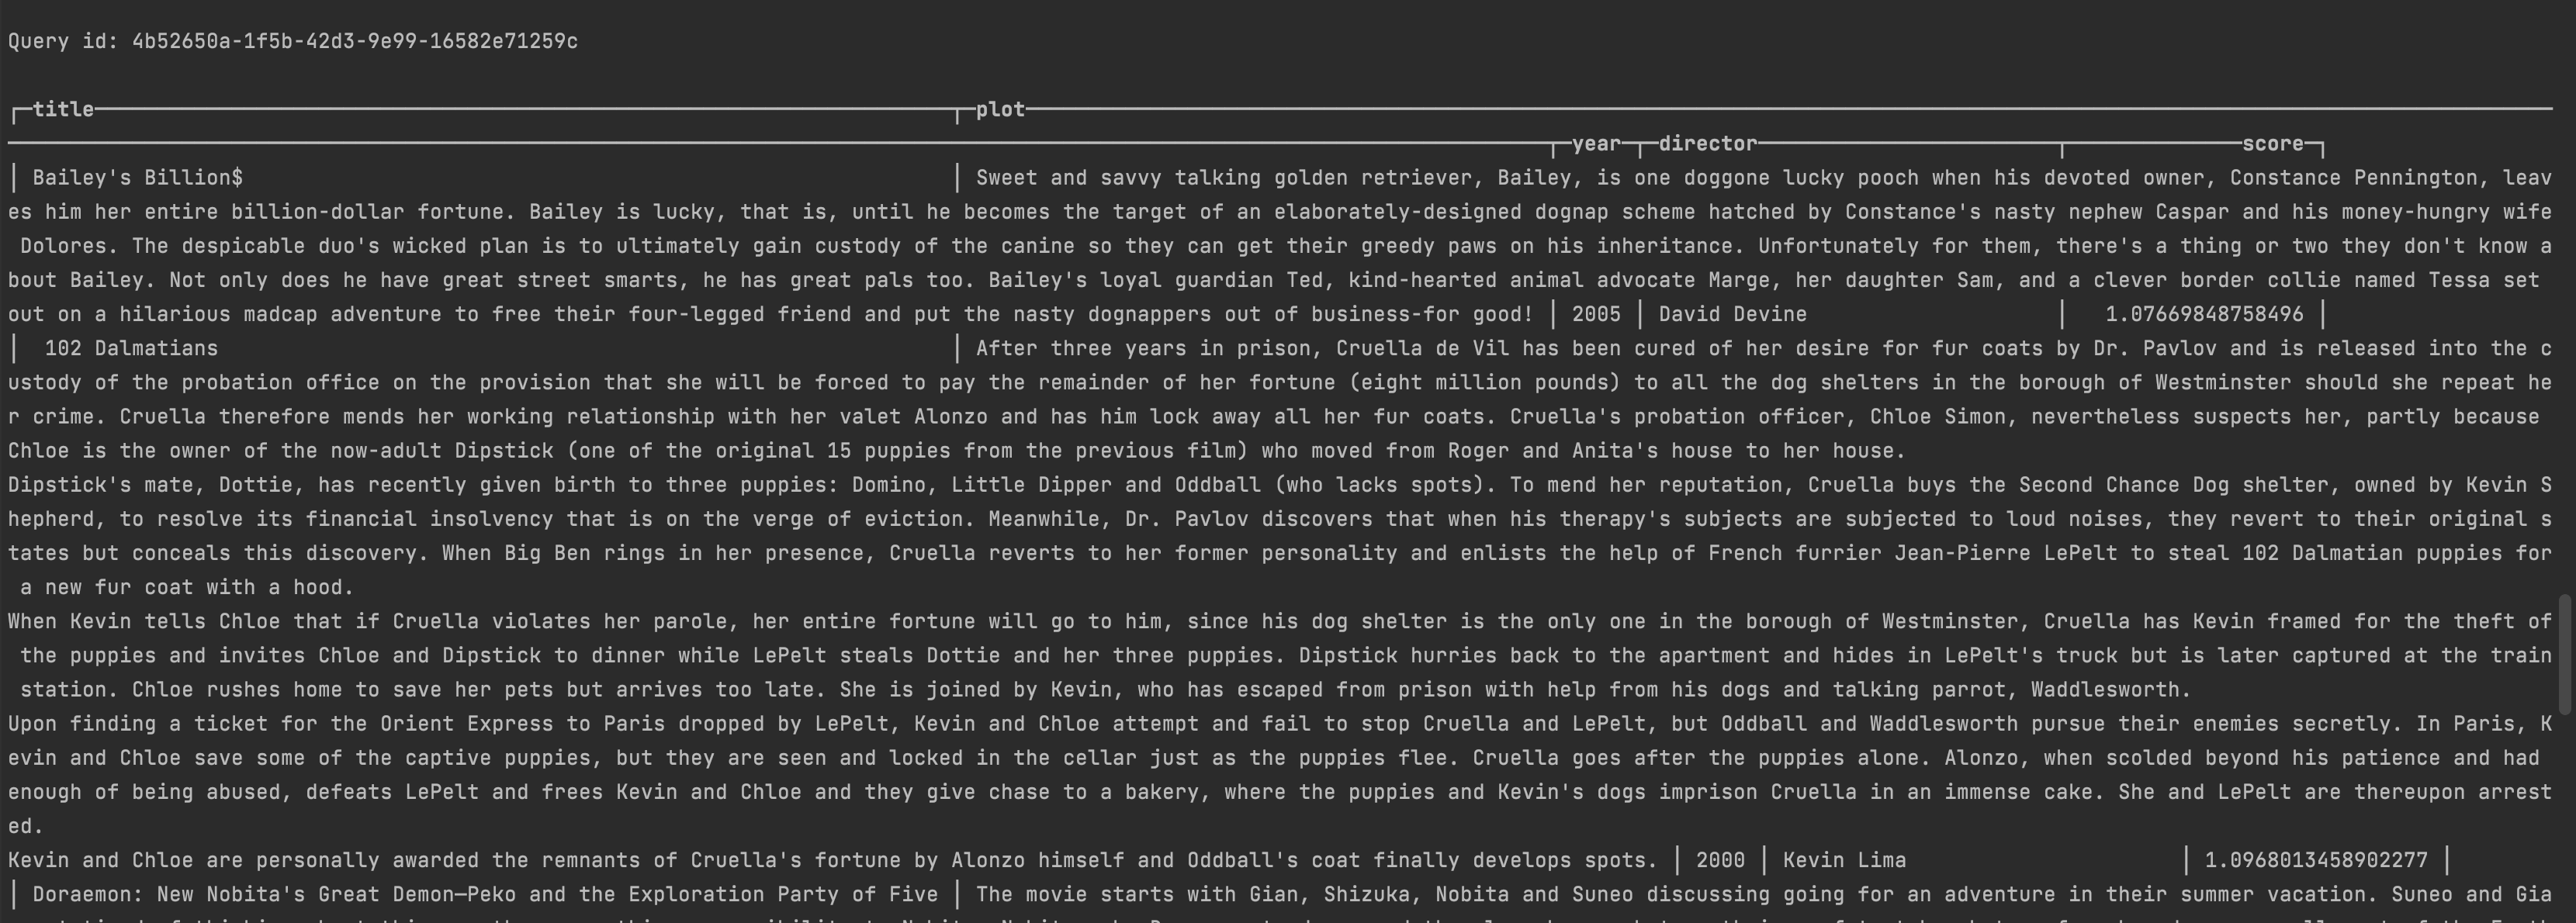
This query returns a list of the ten movie plots most closely related to the search phrase.
While this is certainly functional, manually copying and pasting embeddings into the ClickHouse client is undoubtedly cumbersome. In the upcoming section, we'll introduce a more convenient solution.
JavaScript is exceptionally widespread when building websites, and with Next.js, we can seamlessly combine frontend layout and backend functionality.
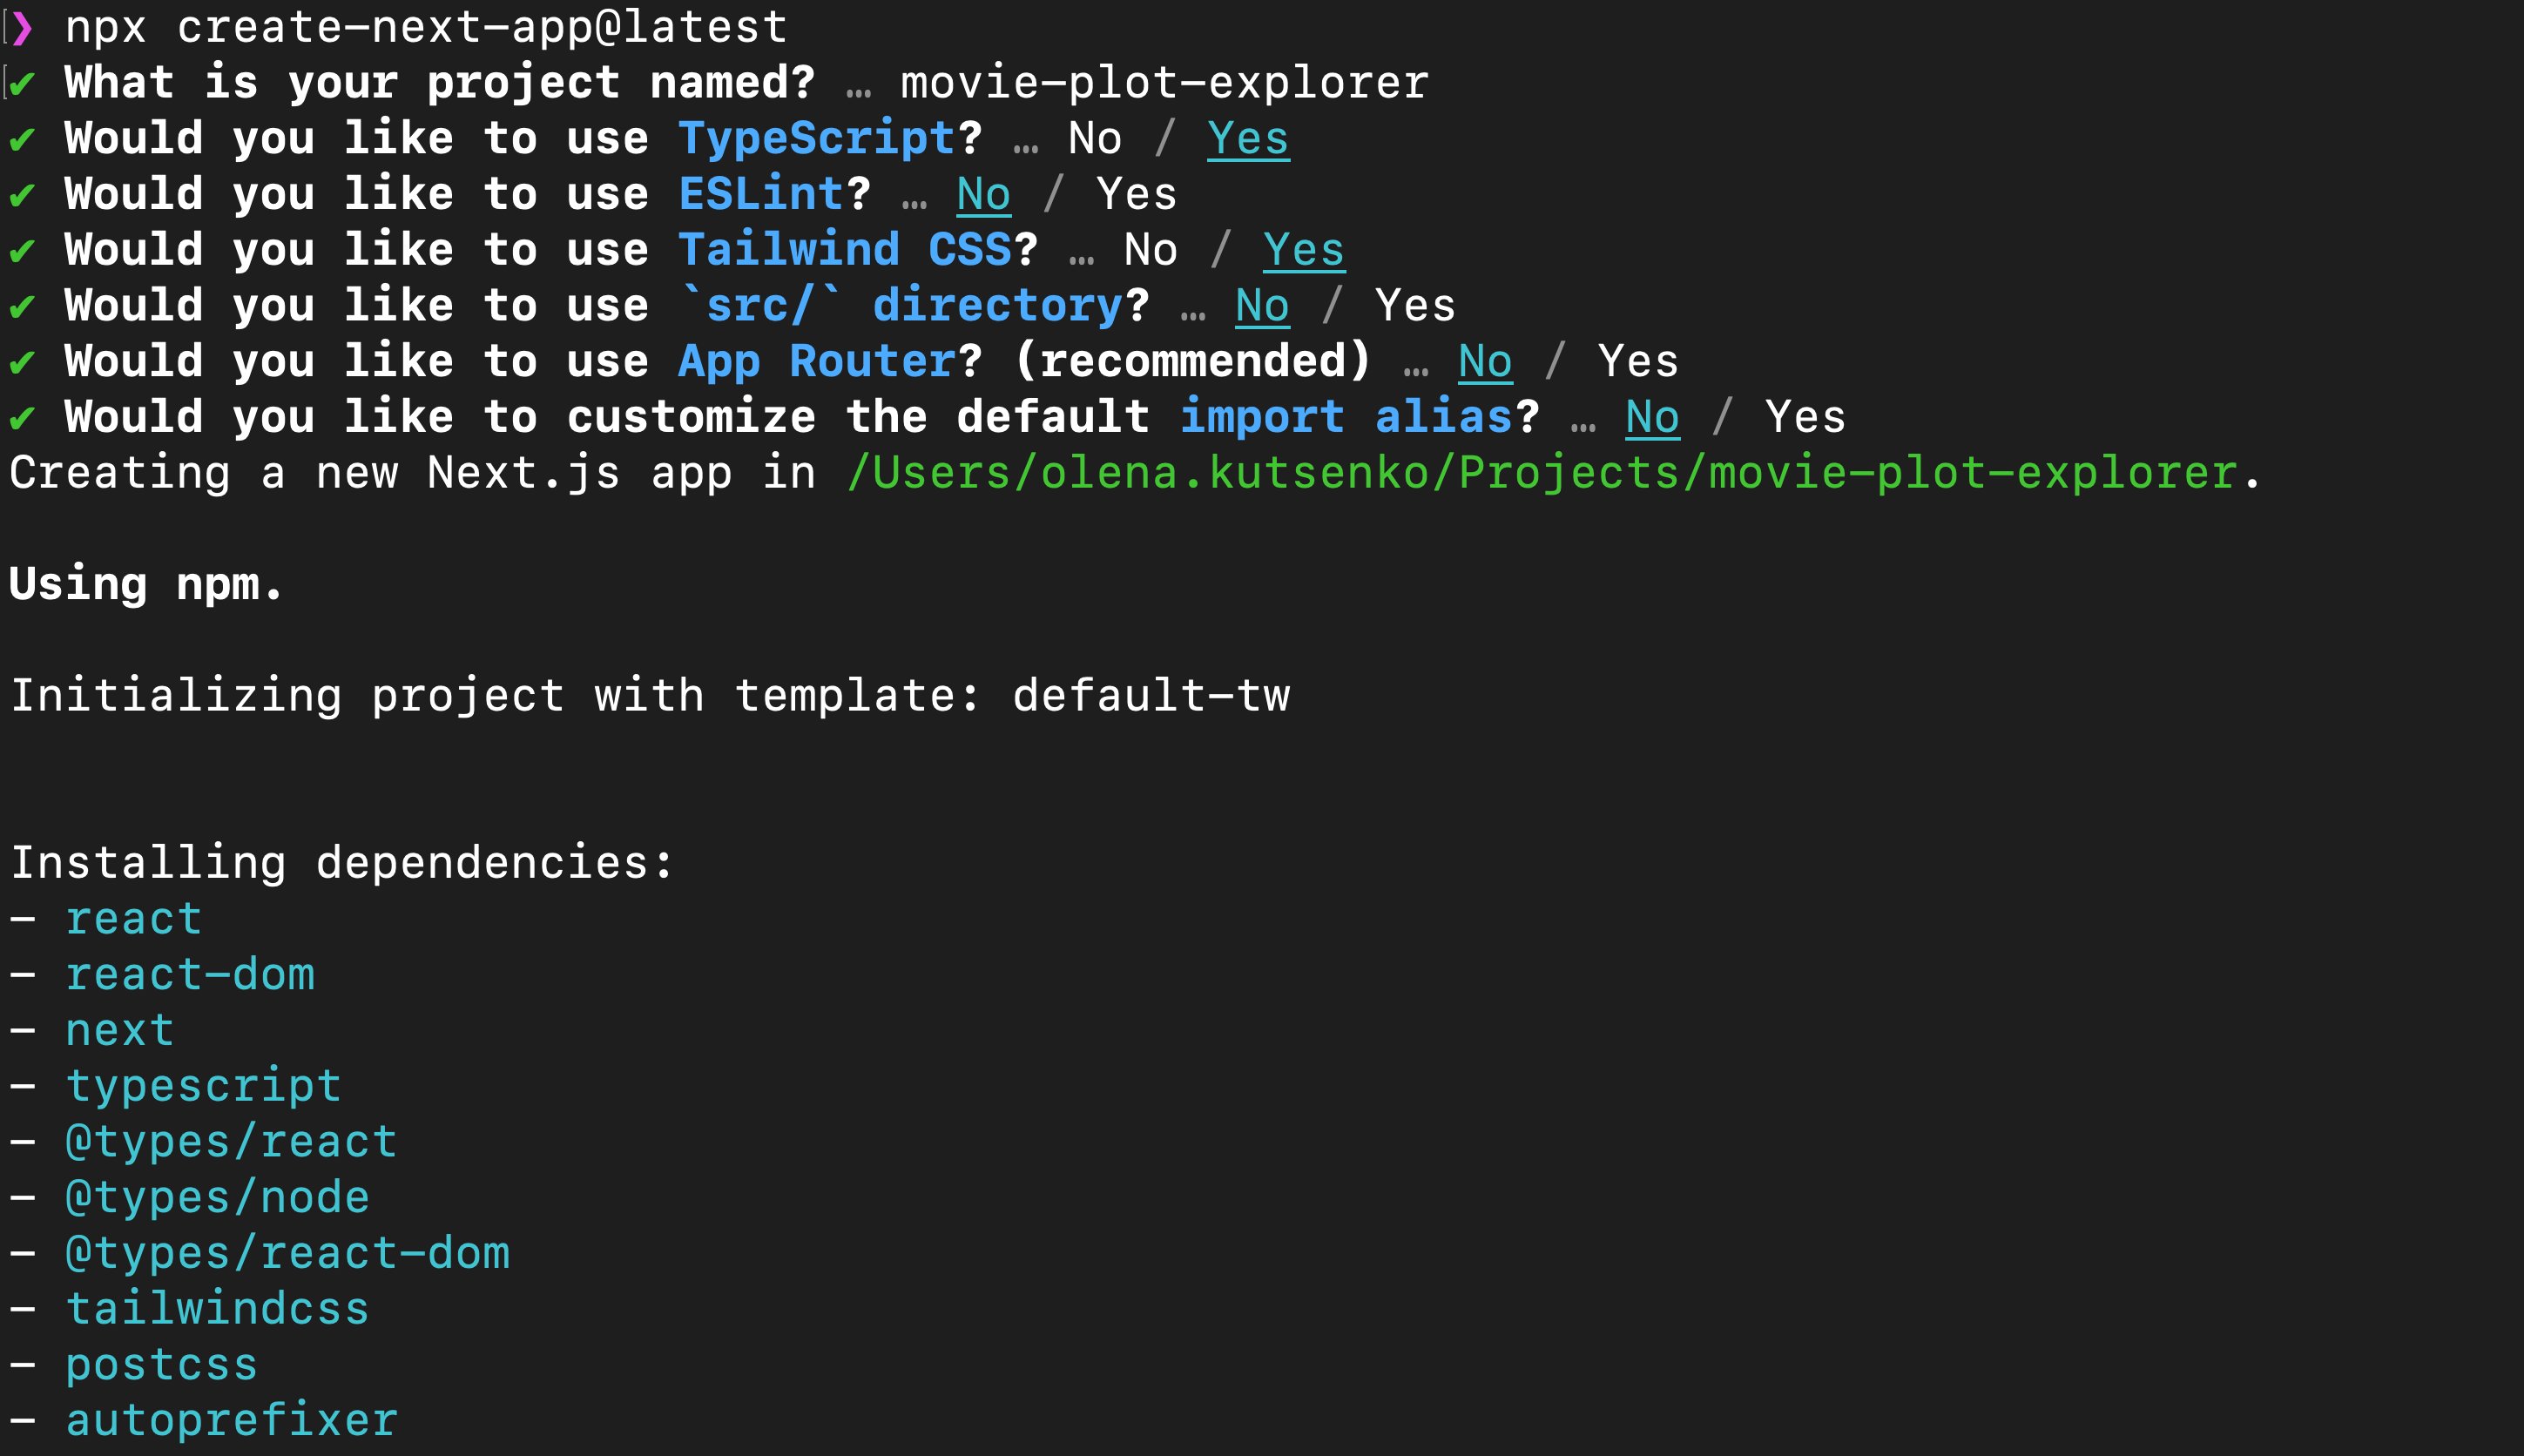
To kickstart a simple Next.js project, run the following command:
Loading code...
I chose the following settings:
You can start the server by running:
Loading code...
Upon opening http://localhost:3000, you'll see the loading page. However, we'll begin with the backend first (don't worry, we'll switch to frontend soon!).
There is already included an example API service called hello, it is accessible via http://localhost:3000/api/hello. The code for it can be found in pages/api/hello.ts. We'll be adding our own backend API calls in a similar manner.
In the folder /pages/api/ add a file named recommendations.ts. This is where we'll house all our backend logic. Start with this initial content:
Loading code...
You can test the result of this call by opening http://localhost:3000/api/recommendations.
Now we can start adding the logic to send requests to the Hugging Face API to retrieve embeddings and then communicate with ClickHouse to fetch recommendations.
In preparation to the next step, let's collect the credential and connection information for API services in the same place. You can use dotenv for easy access to process environments. Install it with:
Loading code...
Then create a .env file in your project and add information on all we need to access Hugging Face API and Aiven for ClickHouse service.
Loading code...
Getting embeddings for a search phrase from Hugging Face follows a similar approach to using an individual Node.js file, but with a few tweaks to accommodate Next.js. The default handler function serves as our interface, and we use getEmbedding to encode the input value:
Loading code...
If this works, you should see a lengthy list of vectors. If not, double-check the error and ensure you're using a valid Hugging Face API token and do not surround it in quotes when adding to .env file.
ClickHouse offers the ClickHouse JavaScript client to send requests to the server. To install it, run:
Loading code...
Now, in our recommendations.ts file, include the following lines to establish a connection with the cluster:
Loading code...
Let's modify our handler to test whether the connection with ClickHouse is functioning:
Loading code...
This should retrieve the first 10 items from our movie dataset.
We're nearly there! Let's combine the Hugging Face API call and the ClickHouse call to retrieve the list of recommendations based on the search phrase embedding.
Since we don't have a real frontend yet to collect user input, you can use any string for testing:
Loading code...
This should return the 10 best suggestions based on your search phrase.
In this section, we'll modify the landing page, index.tsx.
We'll need two elements: a search input for user input and a list to display results.
With these basics in place and a basic UI, it looks like this:
Loading code...
Since Next.js is built on React, we're using useState and useRef. Note that we use the form onSubmit method to trigger the search request.
I'll confess – I'm not a designer. My best work tends to terrify most designers I know. So, feel free to change the layout, colors, and other visual aspects to your liking. To enhance the list of colors and fonts, add the following to global.css:
Loading code...
Adjust the colors in the theme by modifying tailwind.config.js:
Loading code...
I've also added extra layout to the search input section:
Loading code...
I've added extra styles to the list of items as well:
Loading code...
And that's it! You can also check out the final project in this GitHub repository.
Table of contents
docker run -it --rm clickhouse/clickhouse-server clickhouse-client --user CLICKHOUSE_NAME --password CLICKHOUSE_PASSWORD --host CLICKHOUSE_HOST --port CLICKHOUSE_PORT --secureCREATE TABLE movie_plots (
title String,
director String,
cast String,
genre String,
plot String,
year Int16,
wiki String,
embedding Array(Float32)
)
ENGINE = MergeTree()
ORDER BY title;cat movie_plots_with_embeddings.json | docker run \
--interactive \
--rm clickhouse/clickhouse-server clickhouse-client \
--user CLICKHOUSE_NAME \
--password CLICKHOUSE_PASSWORD \
--host CLICKHOUSE_HOST \
--port CLICKHOUSE_PORT \
--secure \
--max_insert_block_size=100000 \
--query="INSERT INTO movie_plots FORMAT JSONEachRow"SELECT count() FROM movie_plots;// The sentence transformer we'll use (the same one used for movie plots)
const api_url = "https://api-inference.huggingface.co/pipeline/feature-extraction/sentence-transformers/all-mpnet-base-v2";
// Authentication token for Hugging Face (best to keep it in environment variables)
const headers = {
Authorization: `Bearer YOUR_HUGGING_FACE_TOKEN`,
};
// Fetch request to the Hugging Face API
module.exports.getEmbedding = async function(text) {
const options = {
method: "POST",
headers,
body: JSON.stringify({ inputs: text, options: { wait_for_model: true } }),
};
try {
const response = await fetch(api_url, options);
return await response.json();
} catch (error) {
throw new Error(`Request to get embedding ${text} failed: ${error}`);
}
};node -e "const module = require('./embeddings'); module.getEmbedding('a lot of cute puppies').then(result => console.log(result)).catch(error => console.error(error));" node -e "const module = require('./embeddings'); module.getEmbedding('a lot of cute puppies').then(result => console.log(JSON.stringify(result))).catch(error => console.error(error));" SELECT
title, plot, year, director,
L2Distance(embedding, [ADD SEARCH PHRASE EMBEDDINGS HERE]) AS score
FROM movie_plots
ORDER BY score ASC
LIMIT 10;npx create-next-app@latestnpm run devexport default async function handler(req, res) {
res.status(200).json("Here we'll return the recommendations.");
}npm install dotenv --saveHUGGING_FACE_TOKEN=
CLICKHOUSE_HOST=
CLICKHOUSE_USERNAME=
CLICKHOUSE_PASSWORD=const api_url = "https://api-inference.huggingface.co/pipeline/feature-extraction/sentence-transformers/all-mpnet-base-v2";
const headers = {
Authorization: `Bearer ${process.env.HUGGING_FACE_TOKEN}`,
};
async function getEmbedding(text) {
const options = {
method: "POST",
headers,
body: JSON.stringify({ inputs: text, options: { wait_for_model: true } }),
};
try {
const response = await fetch(api_url, options);
return await response.json();
} catch (error) {
throw new Error(`Request failed: ${error}`);
}
}
export default async function handler(req, res) {
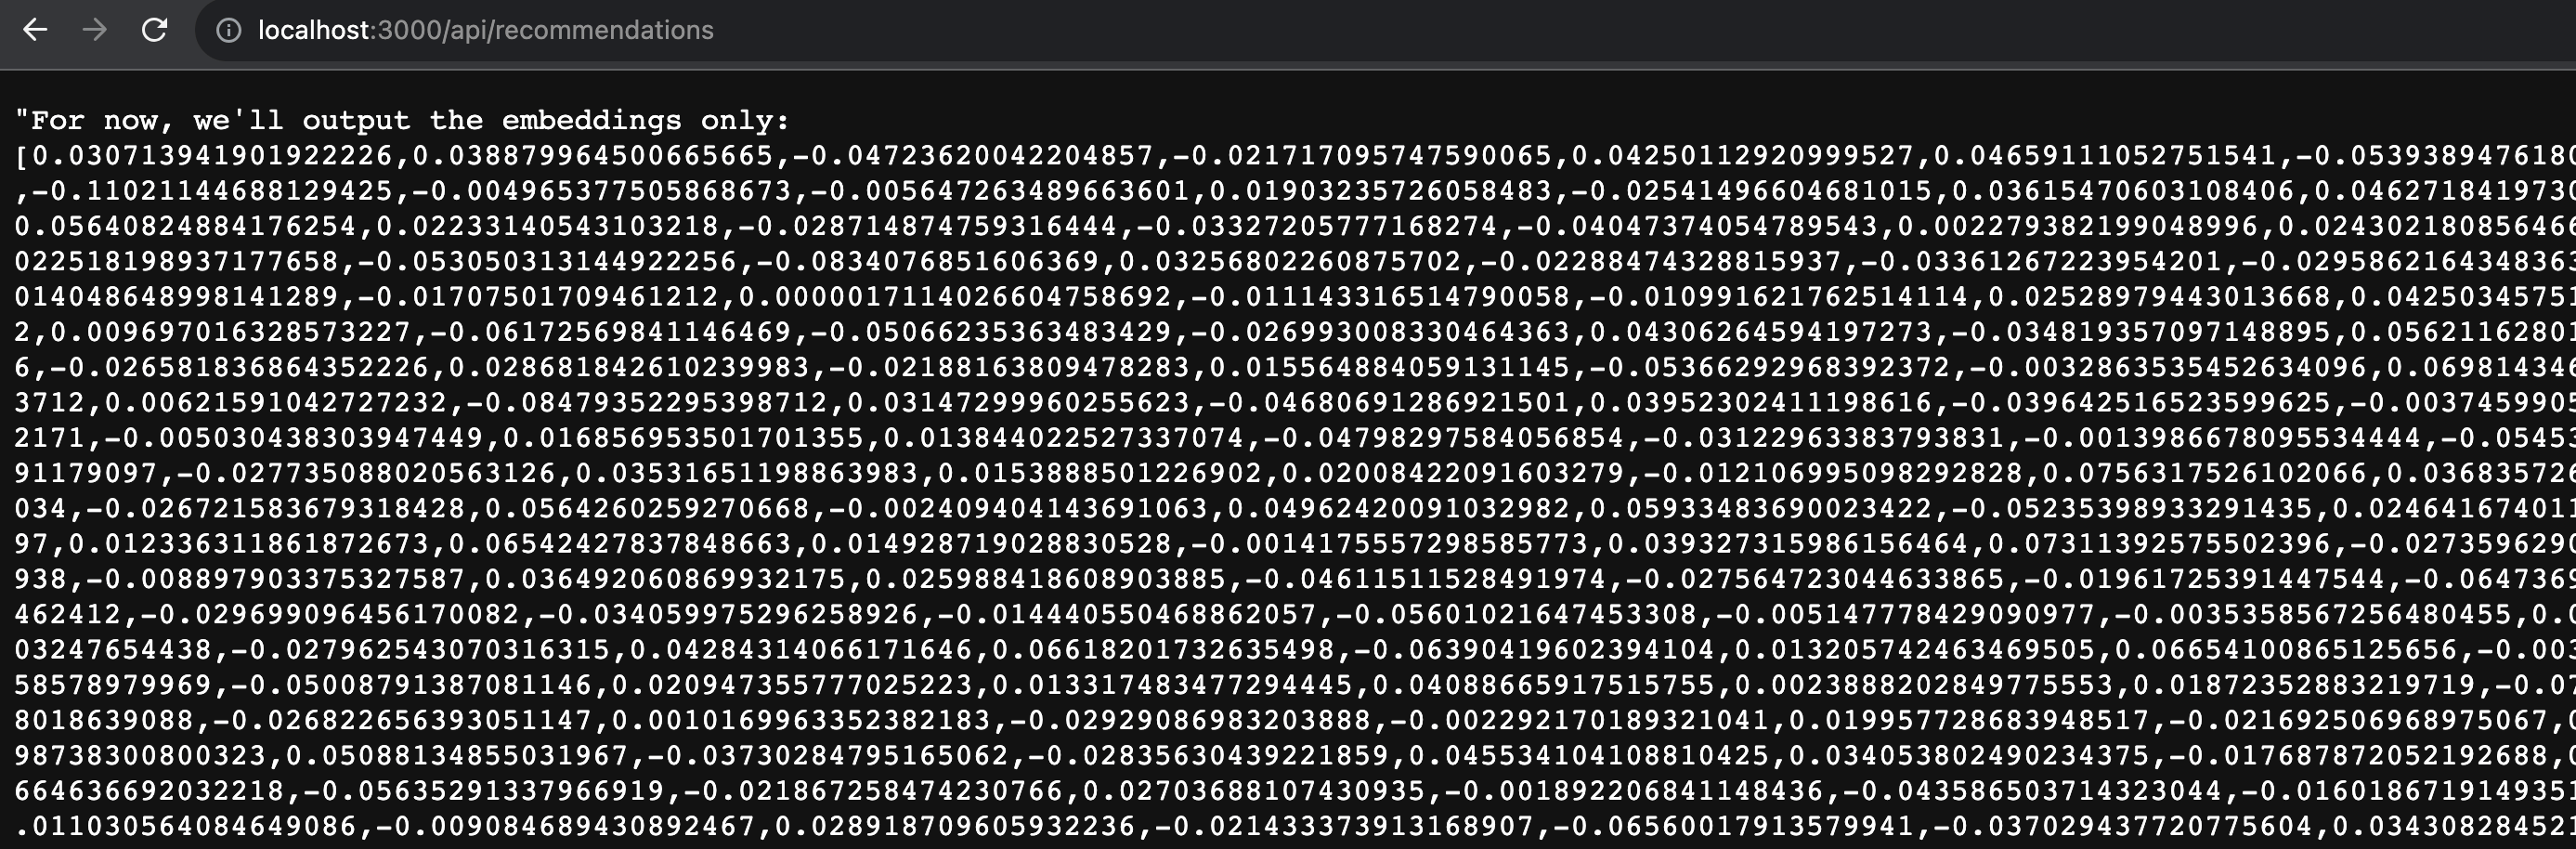
const searchPhraseEmbedding = await getEmbedding(req.body.search);
res.status(200).json(`For now, we'll output the embeddings only: ${searchPhraseEmbedding}`);
}npm i @clickhouse/clientimport { createClient } from '@clickhouse/client'
const client = createClient({
host: process.env.CLICKHOUSE_HOST,
username: process.env.CLICKHOUSE_USER,
password: process.env.CLICKHOUSE_PASSWORD,
})export default async function handler(req, res) {
const searchPhraseEmbedding = await getEmbedding(req.body.search);
const query = await client.query({
query: "SELECT title, plot, year, directors, wiki, FROM movie_plots LIMIT 10"
});
const response = await query.json();
res.status(200).json(response.data);
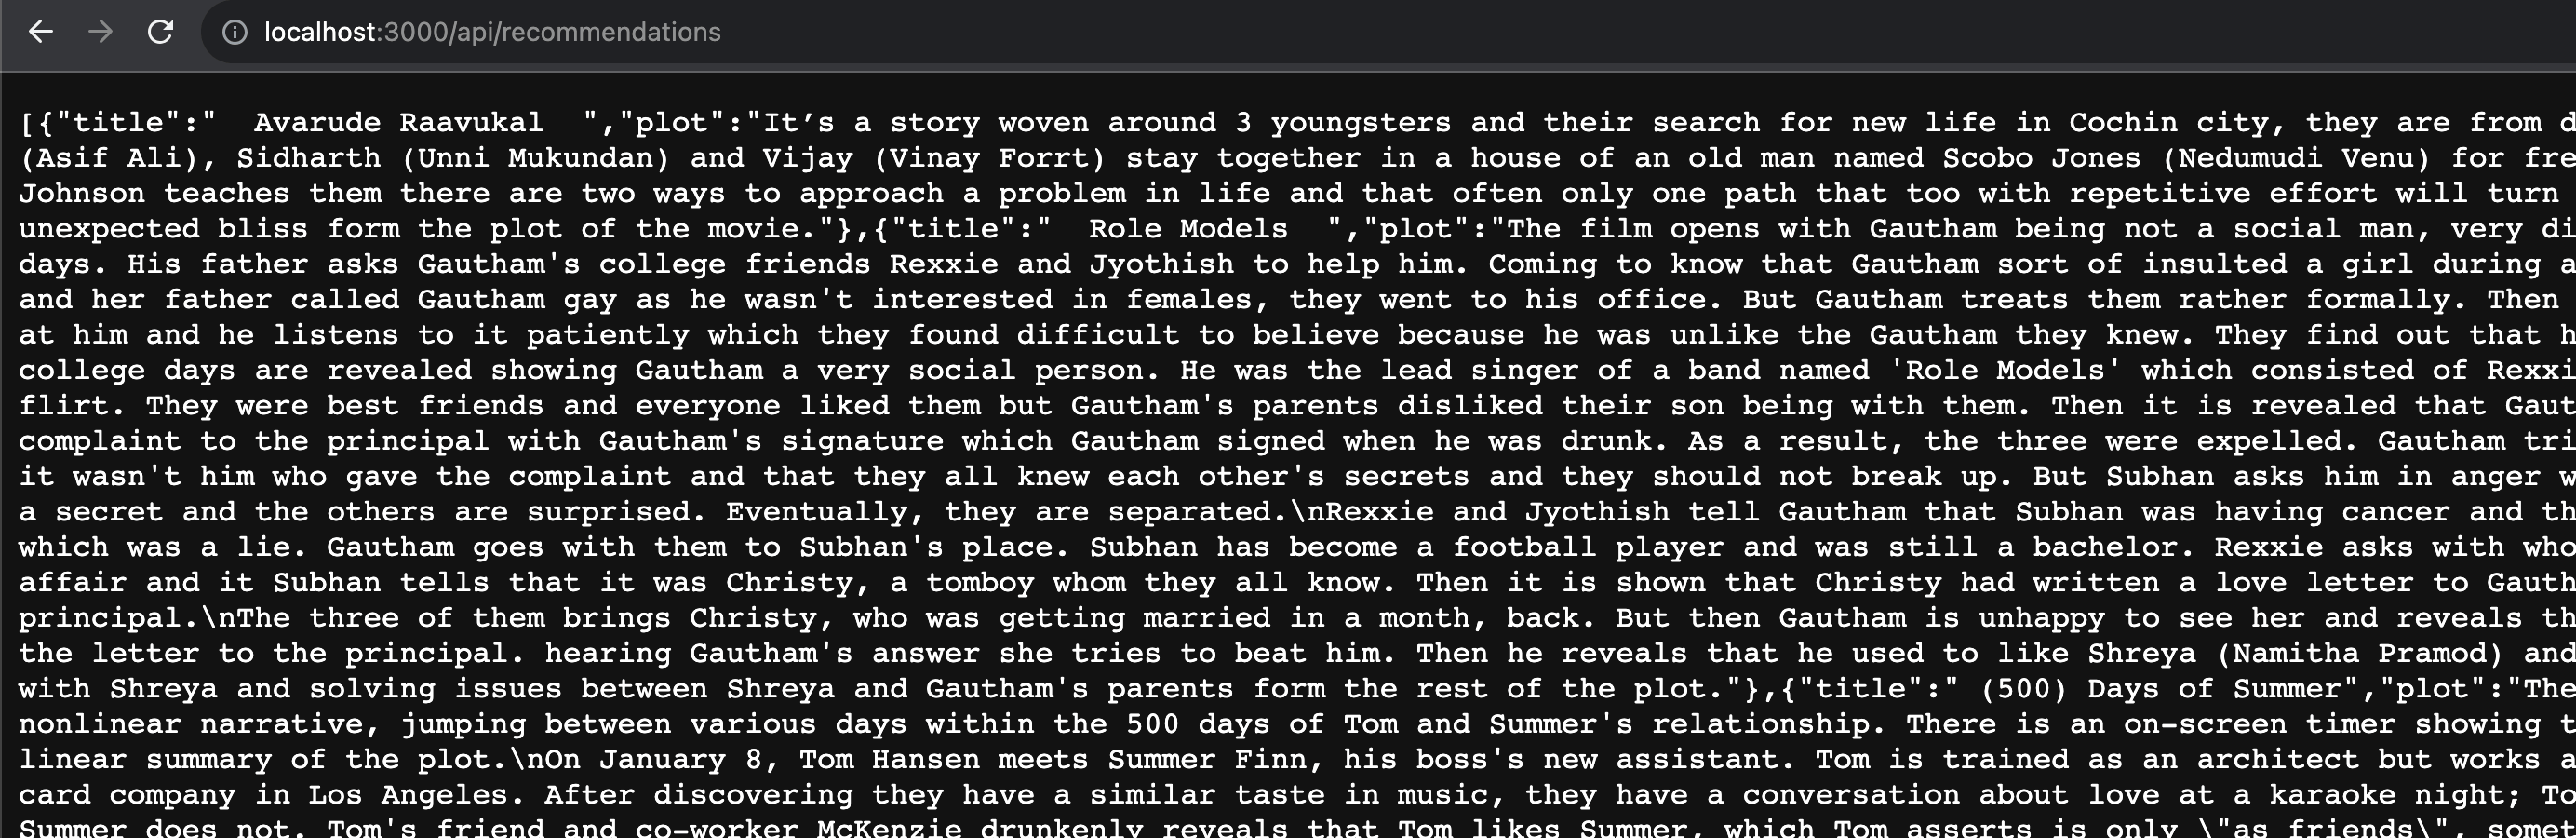
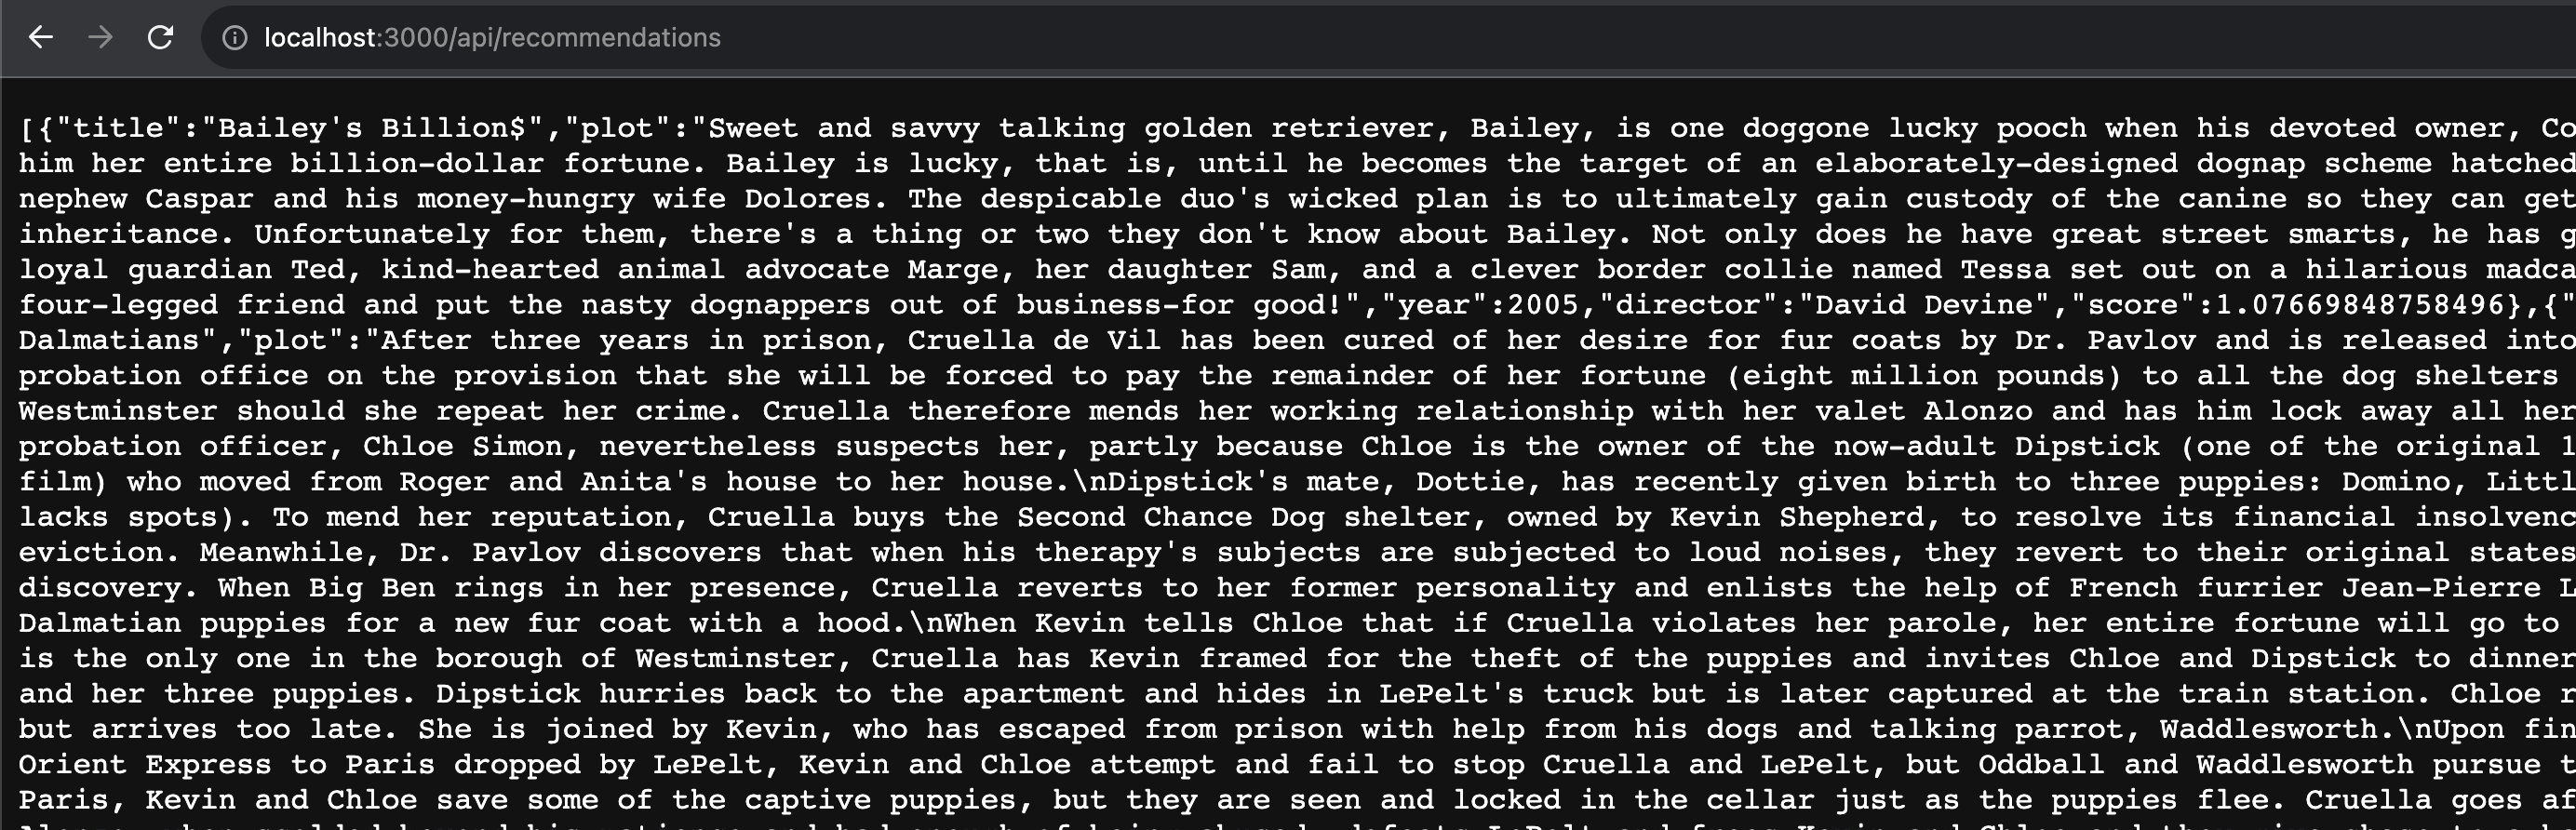
}export default async function handler(req, res) {
const searchPhraseEmbedding = await getEmbedding("a lot of cute puppies");
const query = await client.query({
query: `SELECT title, plot, year, director, wiki, L2Distance(embedding, [` + searchPhraseEmbedding.toString() + `]) AS score FROM movie_plots ORDER BY score ASC LIMIT 10`
});
const response = await query.json();
res.status(200).json(response.data);
}import { useRef, useState } from 'react';
export default function Home() {
const [plots, setPlots] = useState([]);
const searchInput = useRef();
function search(event) {
event.preventDefault();
const enteredSearch = searchInput.current.value;
fetch('/api/recommendations', {
method: 'POST',
body: JSON.stringify({
search: enteredSearch
}),
headers: {
'Content-Type': 'application/json'
}
})
.then(response => response.json())
.then(data => setPlots(data));
}
return (
<>
<div>
<form onSubmit={search}>
<label htmlFor="default-search">Search</label>
<input
type="search"
id="default-search"
ref={searchInput}
required
/>
<button type="submit">Search</button>
</form>
</div>
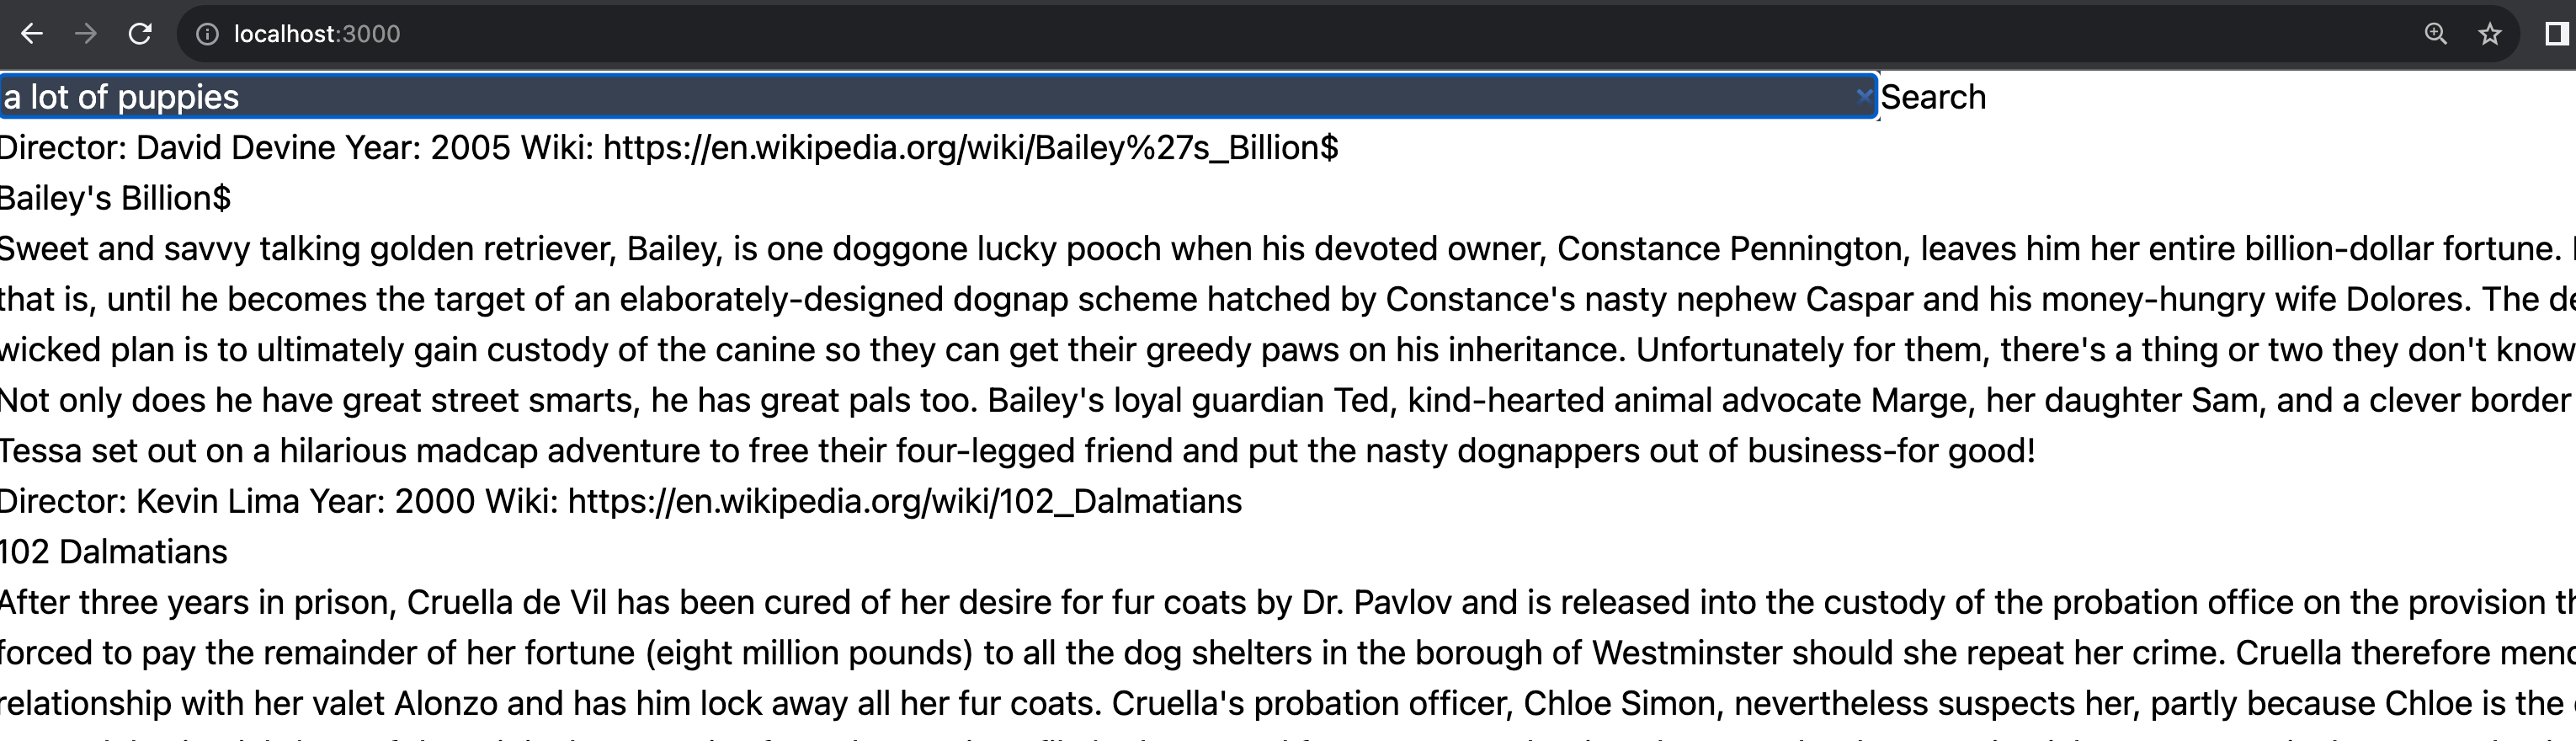
<div>
{plots.map(item => (
<>
<div>
Director: {item.director} Year: {item.year} Wiki: {item.wiki}
</div>
<h1>{item.title}</h1>
<p>{item.plot}</p>
</>
))}
</div>
</>
);
}@import url('https://fonts.googleapis.com/css2?family=Poppins:wght@100&display=swap');const colors = require('tailwindcss/colors')
module.exports = {
content: [
'./pages/**/*.{js,ts,jsx,tsx,mdx}',
'./components/**/*.{js,ts,jsx,tsx,mdx}',
'./app/**/*.{js,ts,jsx,tsx,mdx}',
],
theme: {
extend: {
colors: {
veryDarkBlue: '#1B262C',
darkBlue: '#0F4C75',
lightBlue: '#3282B8',
veryLightBlue: '#BBE1FA',
},
fontFamily: {
sans: ['Poppins', 'sans-serif']
},
},
},
plugins: [],
}<section id="shorten" >
<div className="max-w-4xl mx-auto p-6 space-y-6">
<form onSubmit={search}>
<label htmlFor="default-search" className="mb-2 text-sm font-medium sr-only text-white">
Search
</label>
<div className="relative">
<div className="absolute inset-y-0 left-0 flex items-center pl-3 pointer-events-none">
<svg className="w-4 h-4 text-gray-400" aria-hidden="true"
xmlns="http://www.w3.org/2000/svg" fill="none" viewBox="0 0 20 20">
<path stroke="currentColor" strokeLinecap="round" strokeLinejoin="round"
strokeWidth="2" d="m19 19-4-4m0-7A7 7 0 1 1 1 8a7 7 0 0 1 14 0Z"/>
</svg>
</div>
<input
type="search"
id="default-search"
ref={searchInput}
className="block w-full p-4 pl-10 text-sm border rounded-lg bg-gray-700 border-gray-600 placeholder-gray-400 text-white focus:ring-blue-500 focus:border-blue-500"
placeholder="Type what the movie should be about"
required
/>
<button
type="submit"
className="text-white absolute right-2.5 bottom-2.5 focus:ring-4 focus:outline-none font-medium rounded-lg text-sm px-4 py-2 bg-lightBlue hover:bg-darkBlue focus:ring-blue-800"
>
Search
</button>
</div>
</form>
</div>
</section><div className="flex gap-8 flex-wrap flex-col grow shrink items-start mx-24">
{plots.map(item => (
<div className="relative p-10 rounded-xl binline-block justify-start rounded-lg shadow-[0_2px_15px_-3px_rgba(0,0,0,0.07),0_10px_20px_-2px_rgba(0,0,0,0.04)] bg-darkBlue items-start">
<div className="text-6xl absolute top-4 right-4 opacity-80">🍿</div>
<div>
<h4 className="opacity-90 text-xl">From {item.director}</h4>
<p className="opacity-50 text-sm">Year {item.year}</p>
</div>
<h1 className="text-4xl mt-6">{item.title}</h1>
<p className="relative mt-6 text opacity-80 italic">
{item.plot}
</p>
<div>
<p className="opacity-50 text-sm mt-6">
<a
href={item.wiki}
className="underline decoration-transparent transition duration-300 ease-in-out hover:decoration-inherit"
>
{item.wiki}
</a>
</p>
</div>
</div>
))}
</div>